Script Address#
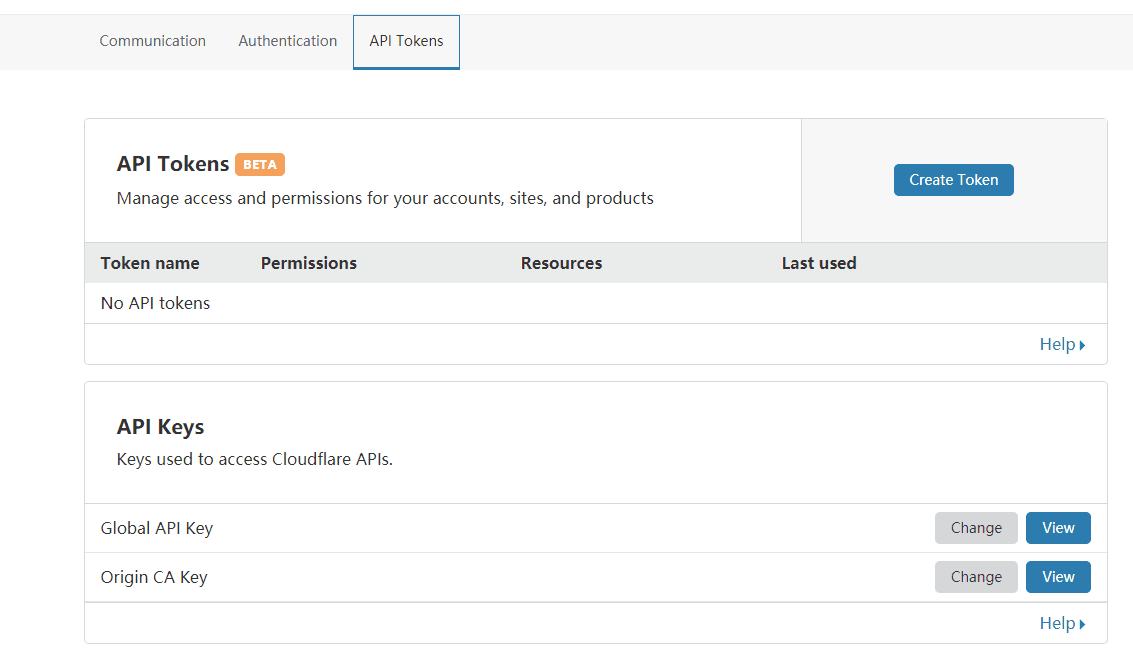
Get KEY#
Visit https://dash.cloudflare.com/profile and find the Global API Key at the bottom of the page. Click on View on the right to view the Key and save it. Find the Global API Key at the bottom of the page, click on View on the right to view the Key and save it.

Parse Domain Name#
Set up a second-level domain name for DDNS resolution, and the traffic does not pass through CDN (cloud turns gray).
Add an A record, for example: hkt.test.com, set Proxy status to DNS only.
The IPv4 address can be arbitrary.

Run the Script#
Download the DNNS script
curl https://raw.githubusercontent.com/aipeach/cloudflare-api-v4-ddns/master/cf-v4-ddns.sh > /root/cf-v4-ddns.sh && chmod +x /root/cf-v4-ddns.sh
Configuration Information#
Modify the DDNS script and provide the relevant information
vi cf-v4-ddns.sh
# incorrect api-key results in E_UNAUTH error
# Fill in the Global API Key
CFKEY=

# Username, eg: user@example.com
# Fill in the CloudFlare login email
CFUSER=

# Zone name, eg: example.com
# Fill in the top-level domain name to be used for DDNS
CFZONE_NAME=

# Hostname to update, eg: homeserver.example.com
# Fill in the second-level domain name for DDNS (only need to fill in the prefix)
CFRECORD_NAME=
When running the script for the first time, the output will display the current IP. Go to Cloudflare to check and make sure the IP has been changed to the current IP.
./cf-v4-ddns.sh
Set up a Scheduled Task#
crontab -e
*/2 * * * * /root/cf-v4-ddns.sh >/dev/null 2>&1
# If you need a log, replace the code above
*/2 * * * * /root/cf-v4-ddns.sh >> /var/log/cf-ddns.log 2>&1