Starting from January 2022 to February, Oracle has been upgrading and updating the service console for various regions. The most obvious changes are:
- The login interface has changed, with a secondary redirect to a new login interface, and the introduction of an identity domain (the default identity domain is: Default);
- The user console has changed, integrating the original separate user console into the service console;
- Many other operations have been refined.
The new version looks simpler and clearer. When we enter the service console, we can complete all management operations of the Oracle account by clicking on the avatar icon in the upper right corner:

Below, this article will explain in detail how to change passwords, change email addresses, add users, and change tenant names in the new version:
1. Change Password#
Click on [My Information Summary] and select [Change Password]
Enter the old password, then enter the new password, and click [Save]
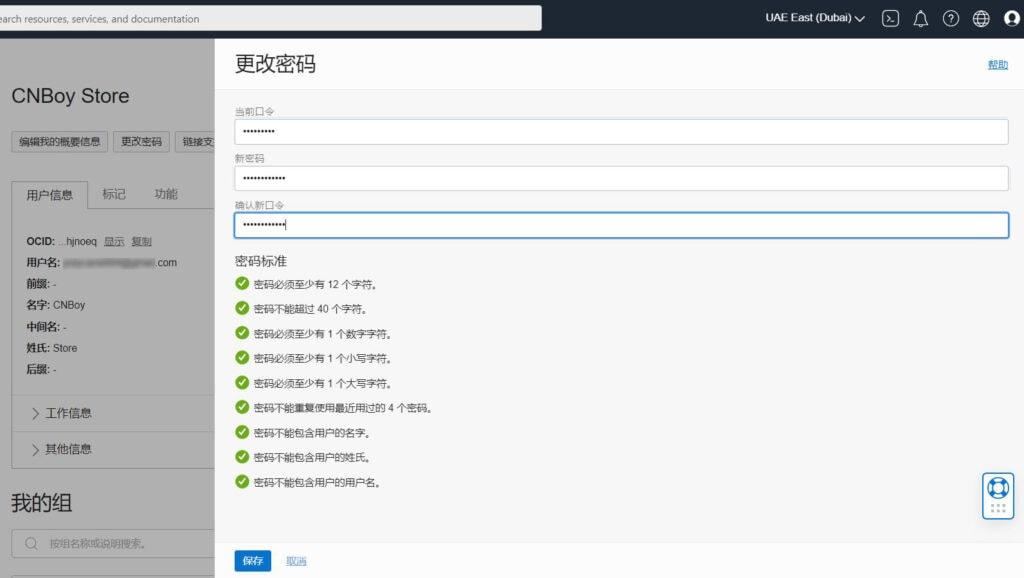
When you log in again, the password will be changed to the new one you set.
2. Change Email Address#
There are two main types of email addresses: security email and notification email: (The new version no longer has the concept of a login email)
- Security email: An email used to restore account access when you forget your password or cannot access your account.
- Notification email: An email used to receive various notifications from Oracle.
1. Change Security Email#
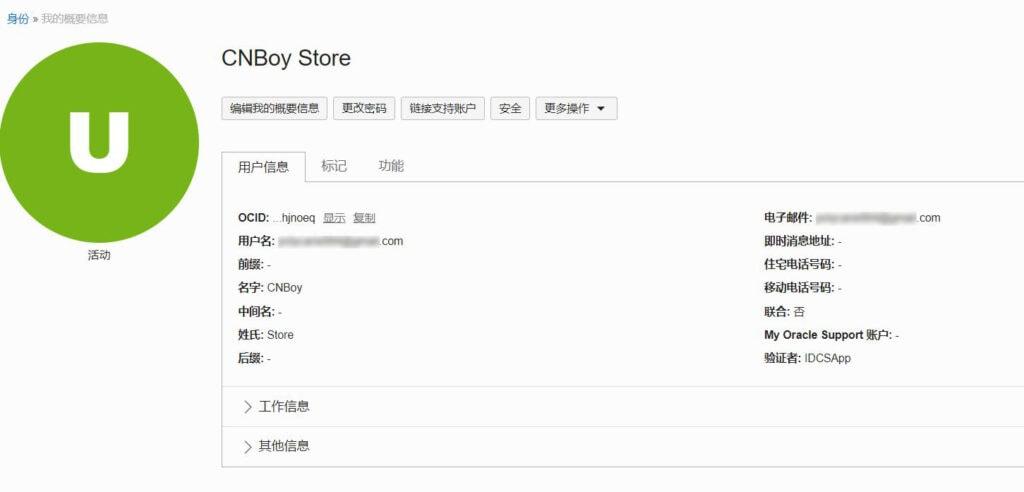
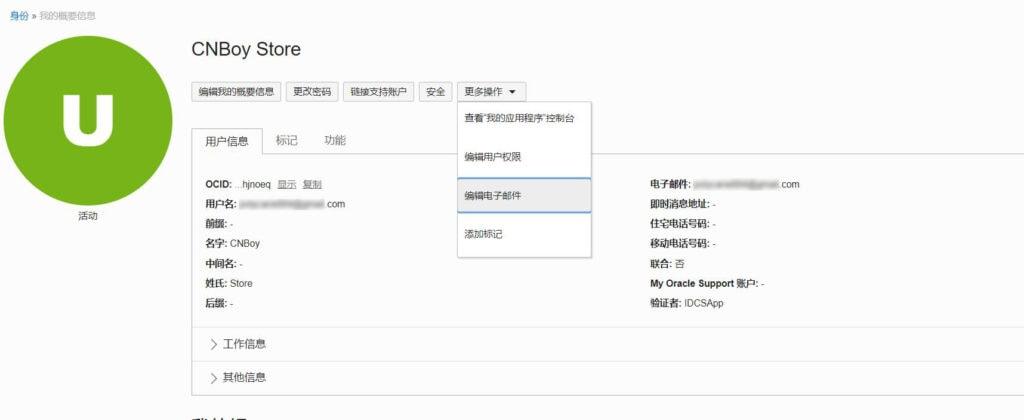
Click on [My Information Summary]

Here you will find a [Username] and [Email], which are the same when initially registered, both being the email address. However, they can be different. We will explain this in detail later.
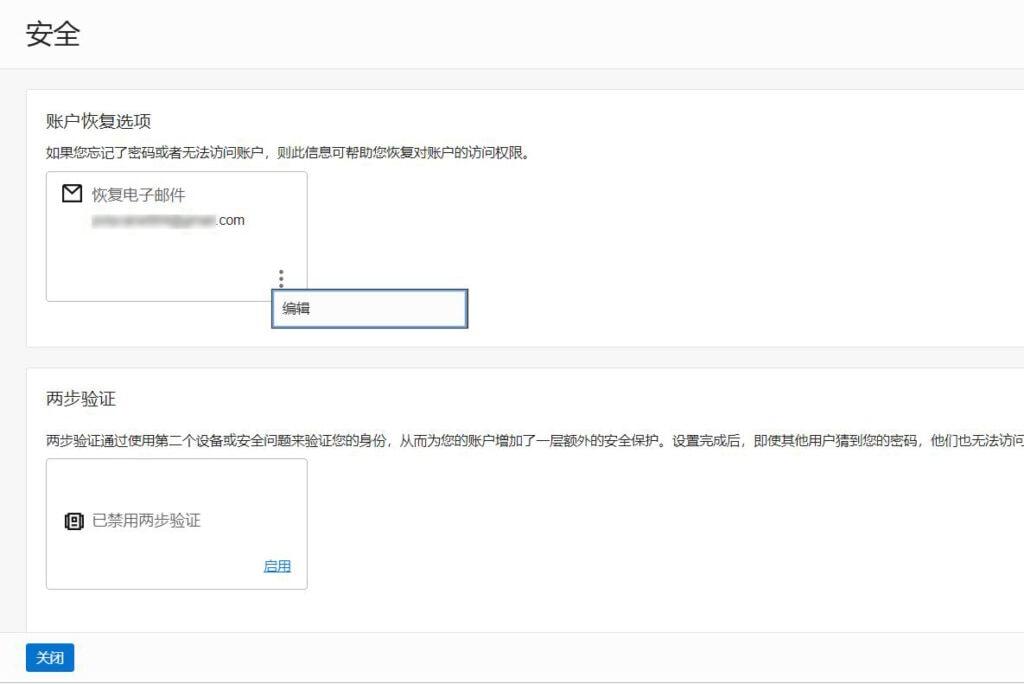
Continue with the operation, click on the [Security] option to enter the following page, select the three dots in the lower right corner of [Recovery Email], and then select [Edit]:
First, enter the login password for verification, then enter the new recovery email, and select [Change Recovery Email]:
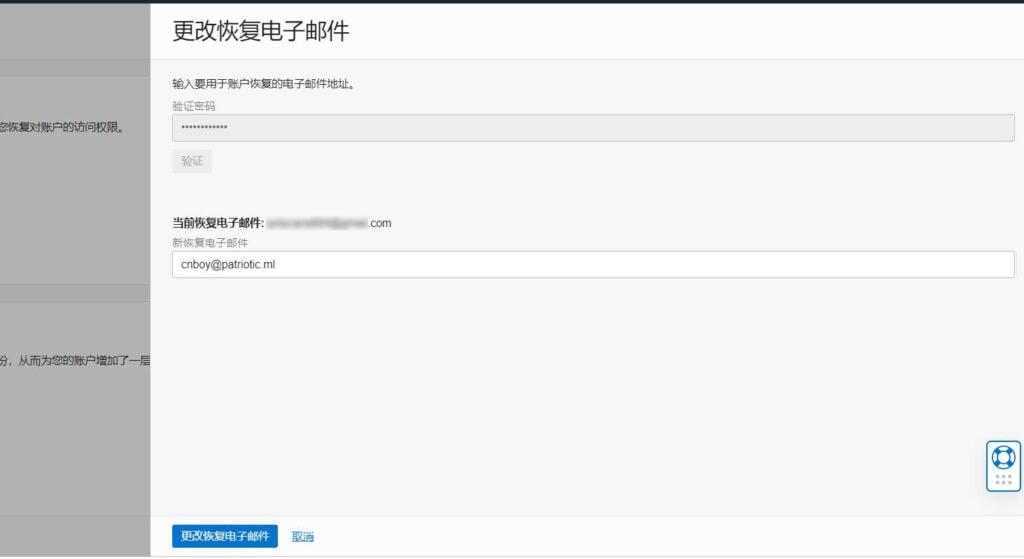

At this point, your new email will receive an email with a link. After clicking on it, enter the new email and password to complete the change.

2. Change Notification Email
Still in the [My Information Summary] interface, select [More Actions], and choose [Edit Email] from the dropdown menu
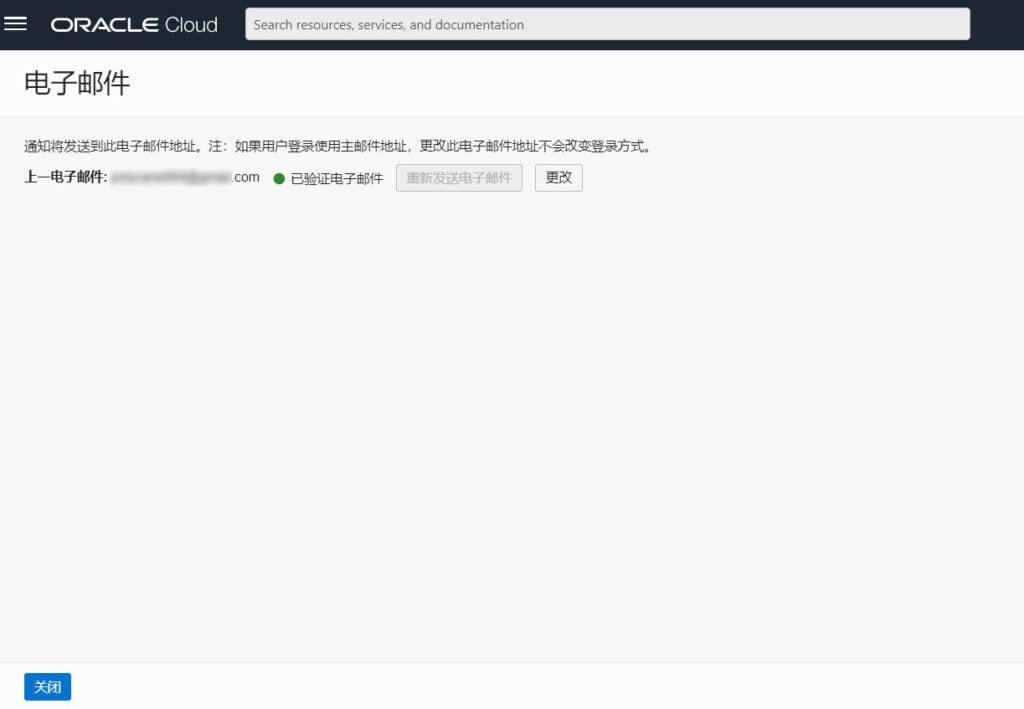
In the new page that pops up, select [Change], then enter the password for verification, enter the new email, and click [Change Primary Email]. (If the email here is the same as the notification email mentioned earlier, it will take effect immediately. If they are different, the same email verification as above will appear, complete the verification to proceed.)

Back to [My Information Summary], you will find that the username is still the original email, but the email address has been changed to the new one.

Because Oracle defaults to using the main email address at the time of registration as the login method, after changing the above email addresses, we still need to enter the original email address to log in. However, the original email here is only used as the username during login and no longer has any actual email significance. To be honest, this is a bit "imperfect". I don't know if Oracle will make any adjustments in the future.
For some perfectionist users who always want to enter their own email or other preferred form when logging in, we can solve this by adding users.
3. Add Users#
In the main interface, select [Identity Domain] to enter the identity domain interface, then select [Users] on the left side

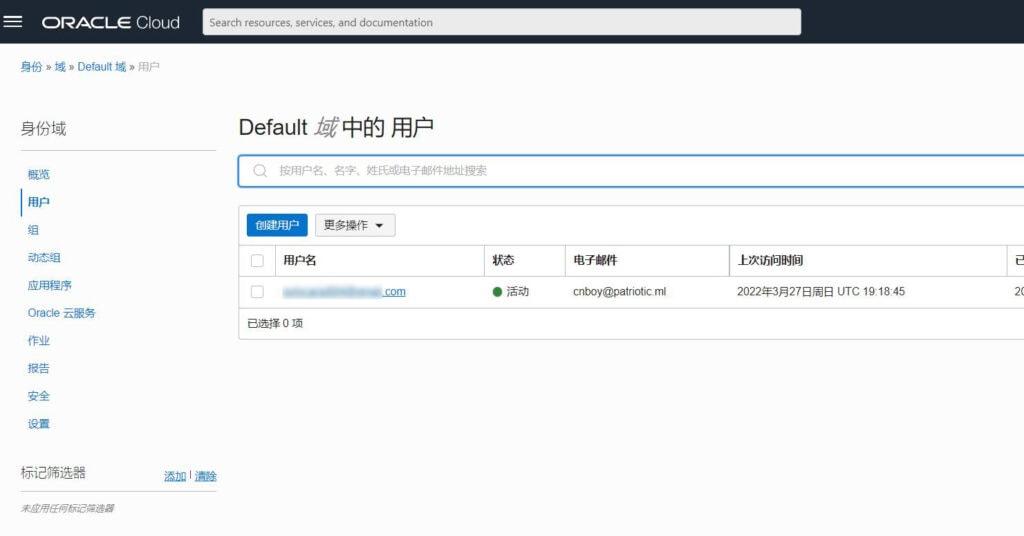
Select [Create User], fill in the relevant information, and click [Create]. There are 3 points to note here:
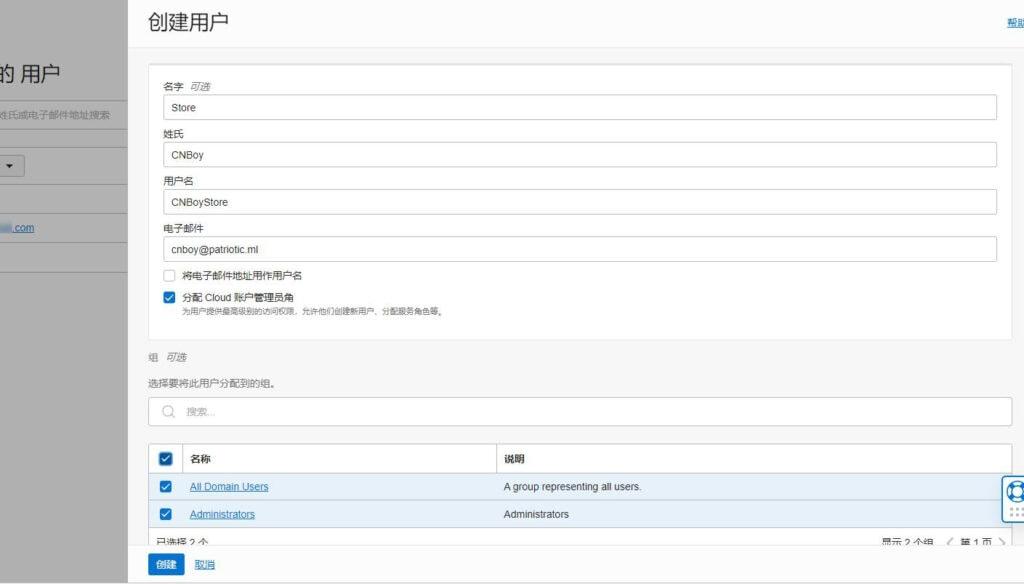
- Use the email address as the username: If this option is selected, the email address will be used as the username when logging in; if not selected, the username used during login will be the one you entered here.
- Assign Cloud Account Management roles: This is selected by default. If not selected, it will not affect your service creation.
- Groups: It is recommended to select all.
After creating, the email address of the user you created will receive an email. Click on the link, enter and confirm the password, and you will be redirected to the login page.

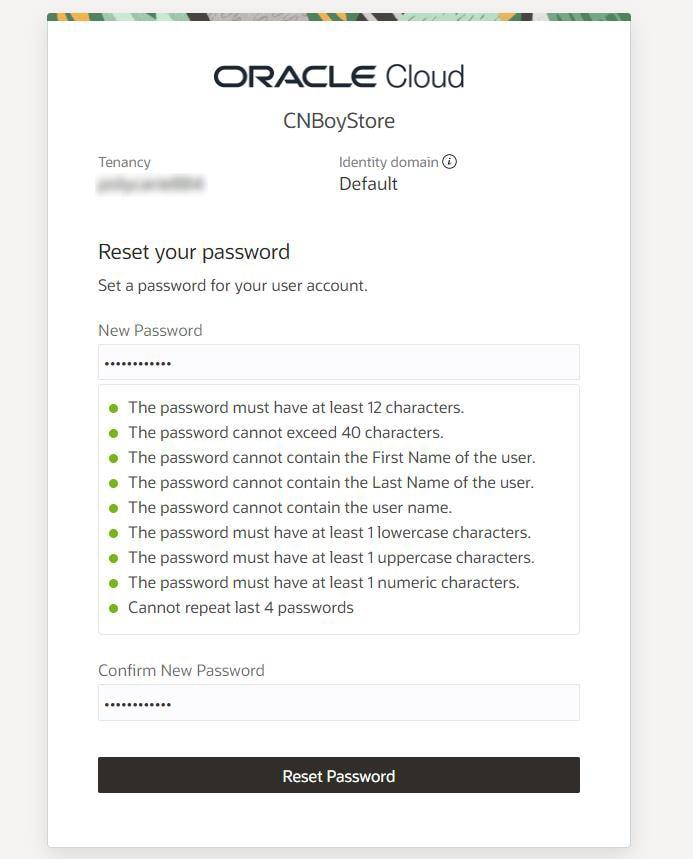
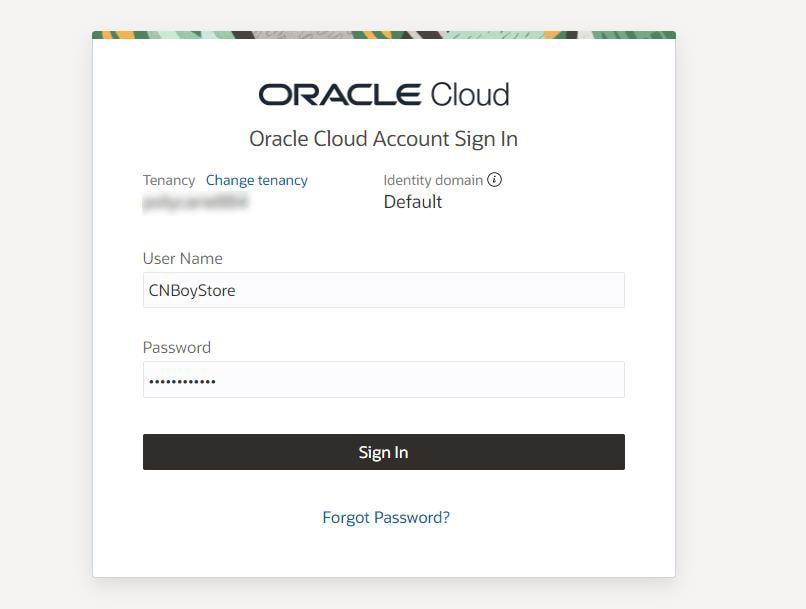
The username on the login page is the email address of the user you created, or the username you entered at that time. Enter the password you just created to log in successfully.
4. Change Tenant Name#
In principle, it is not recommended to change this, as it may bring about risk control. Whether it will result in account suspension cannot be guaranteed. However, for perfectionist users, let's explain it here:
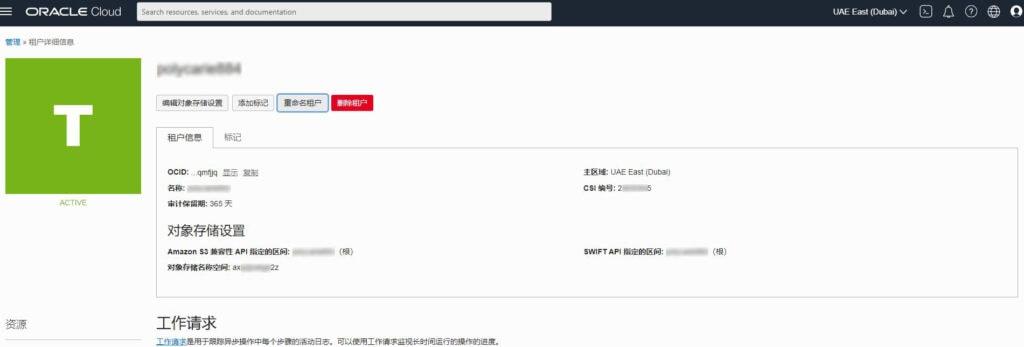
In the main interface, select [Tenant: XXXXX]

Enter the [Tenant Details] interface, select [Rename Tenant], and enter the new tenant name.
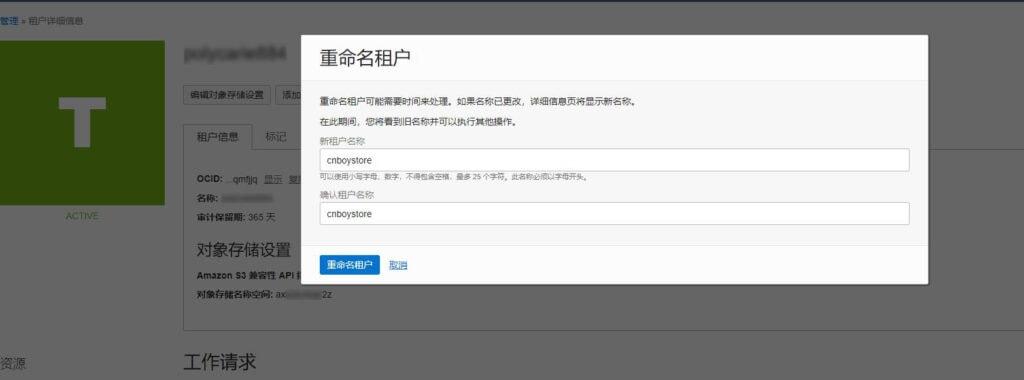
One thing to note here is that the change of tenant name may not take effect immediately. Refresh the [Tenant Details] interface, and if it takes effect, the new tenant name will be displayed there. At this time, when logging in next time, enter the new tenant name. Some people immediately log out and log in again after changing, but entering the new tenant name will result in an error. This is because the tenant name change has not taken effect yet.
Alright, this tutorial will end here. As mentioned at the beginning of this article, all management operations of the Oracle account are performed in the menu under the avatar icon in the main interface. For other required operations, you can find them here.